Materials
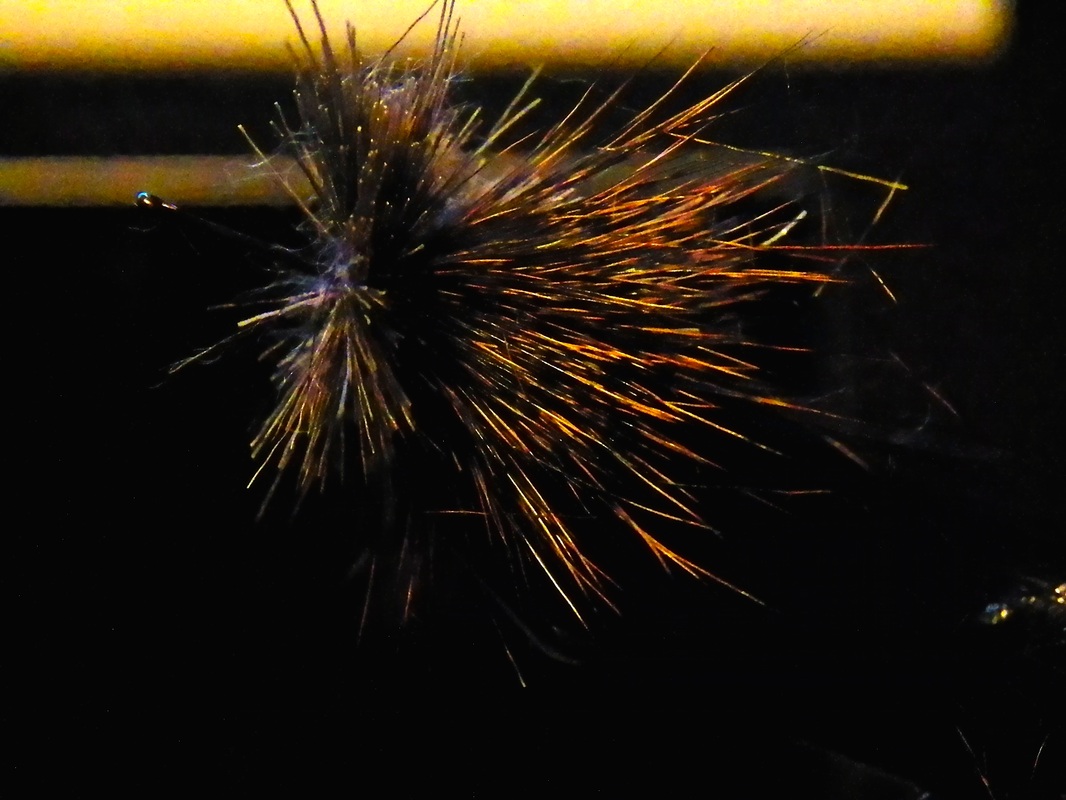
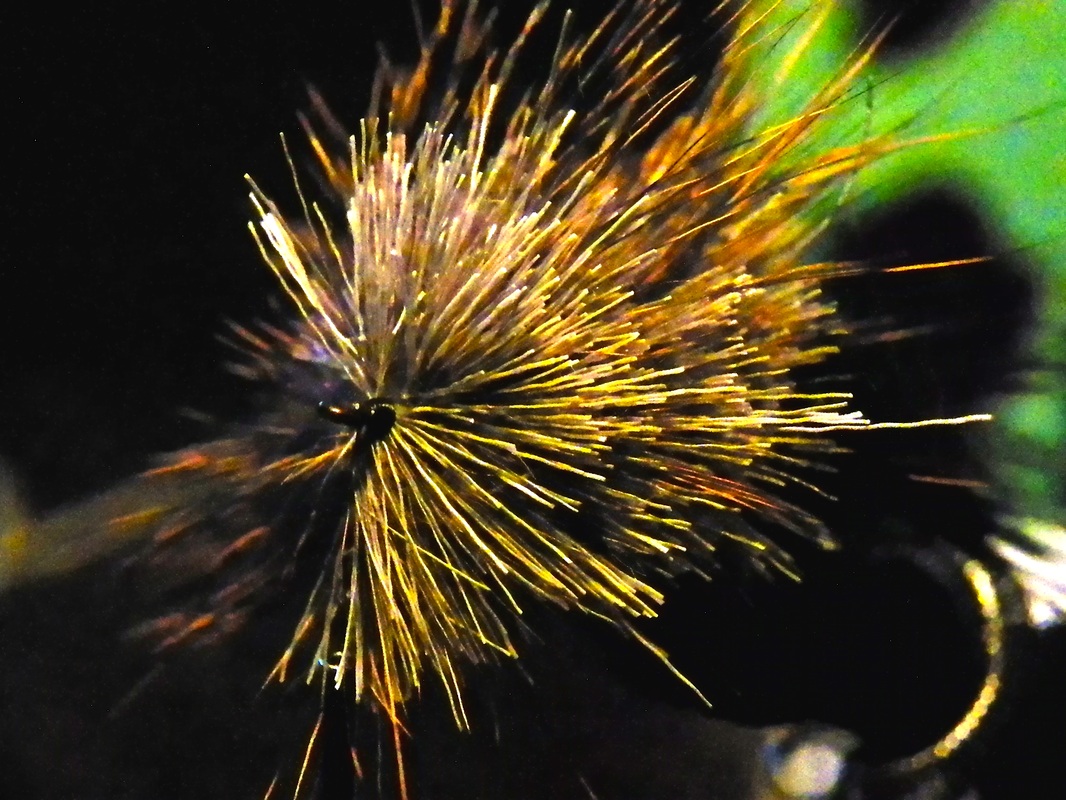
Step 1 Attach the thread toward the rear of the hook using the jam knot. Work forward and then backward to secure. Cut off tag. 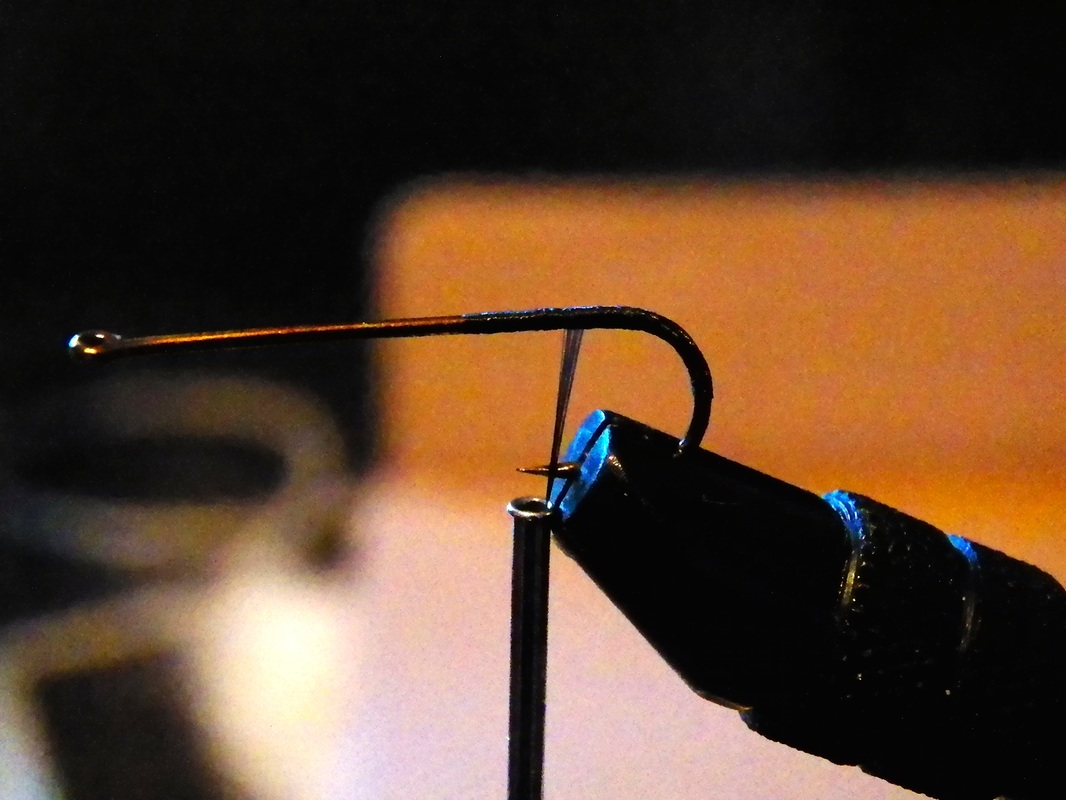 Step 2: Maribou tail Pluck a sufficient helping of marabou and clip feather at stem end to make flush. Your tail should extend 1 1/2 times the hook shank. Once placed where needed tie in the tail. Cut off the butt ends of the marabou feathers and cover in thread to give a smooth appearance. 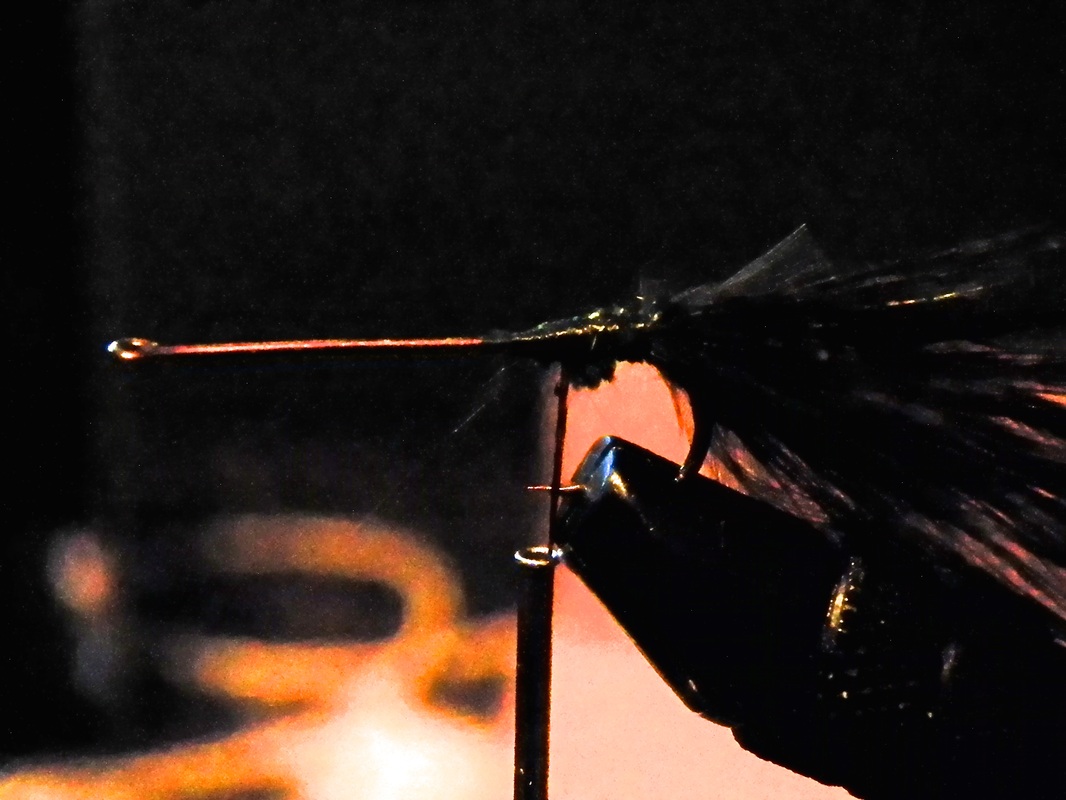 Step 3: Spin on deer hair This is the trickiest part of the whole operation. The hair needs to be in such a density that it gives an almost solid appearance on spun. The technique is pretty simple but takes practice; I'm still obviously not an expert. To spin the hair cut off a 1- to 1 1/2 inch of hair around the diameter of a pencil. Hold the bunch on the top of the hook shank and loosely wrap once around the bundle and shank. Once wrapped give it a good tug up so that the thread tightens and the ends of the deer bundle start to spring up on each end. Once tightened to near breaking capacity perform another wrap and pull once again. With each successive tightening wrap you should be seeing the hair start to stand up on end and even may twist around the shank. If the hair twists a few times it's o.k. you'll get the feel for tensioning and ratcheting down hair with more practice, just use your bodkin to pick at the hair so that it's all standing. Once hair stops springing any further up it's time to carefully advance thread to just in front of where the hair connects to the shank of the hook. Your going to wrap 3-4 times heres and pull back the hair so that the front of the bundle is flush and standing up as seen in the picture on the right.
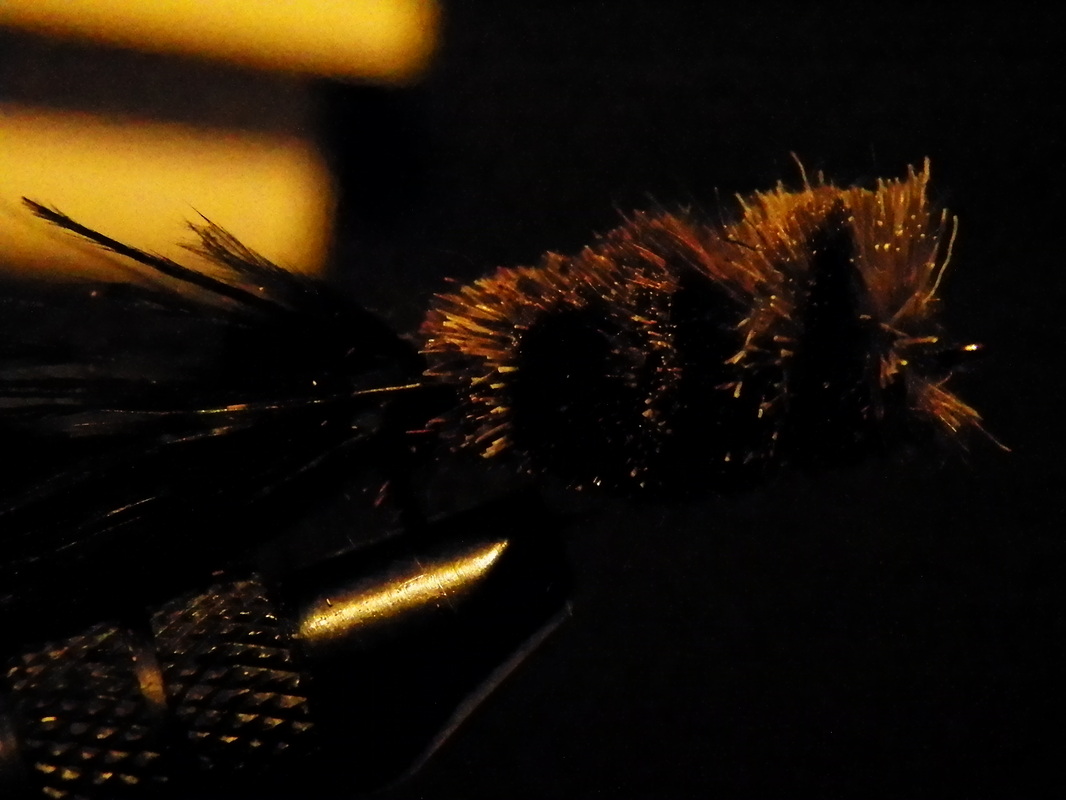
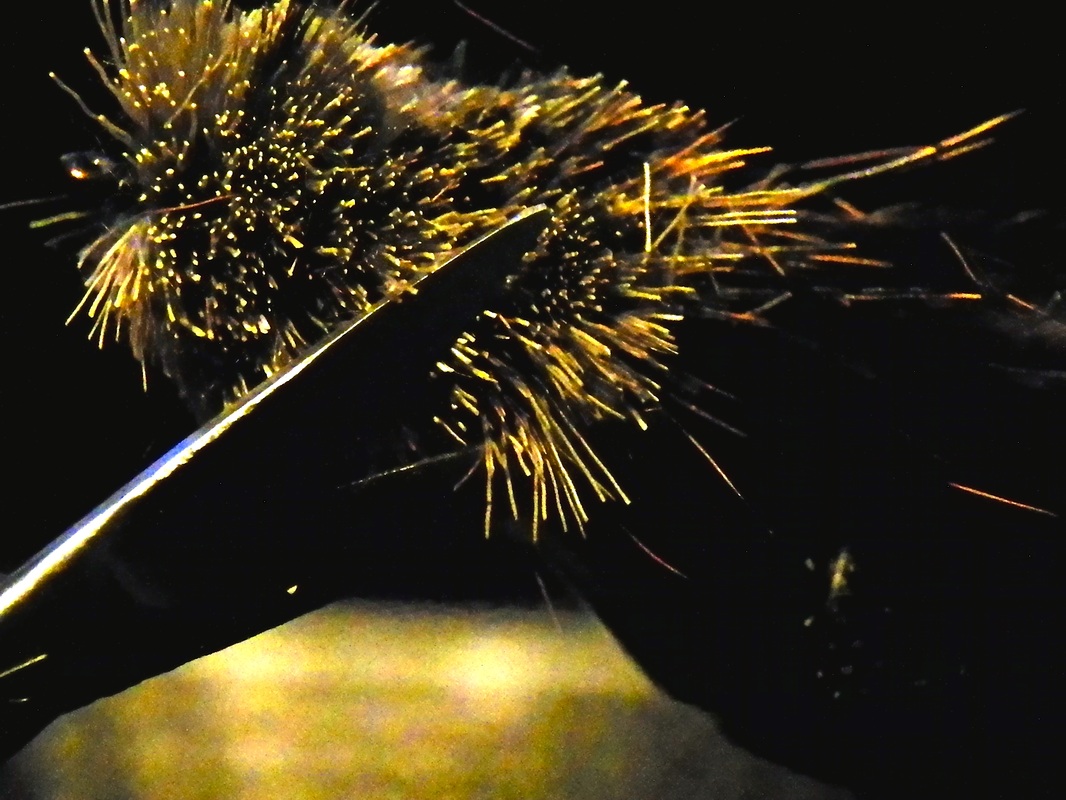
Step 4: Give it a hair cut This part is pretty fun. Your going to begin by trimming the bottom of the popper about 1/8 inch from the shank, and do so all the way back. The top will be 3/8 inch from the shank (1/2 inch thick popper). It's best to use a double-edged razor blade to get the popper in tip top shape but scissors will due.
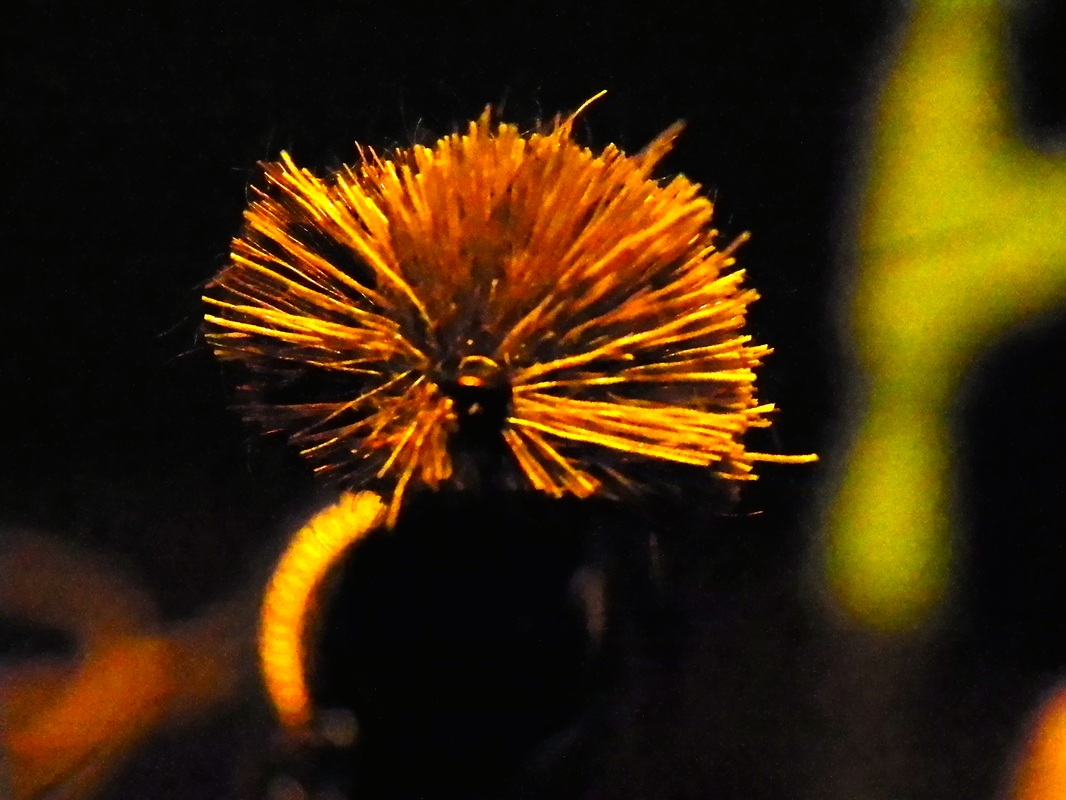
Trim as even as you can on all other sides allowing for a taper in the body as you reach the tail region of the popper. 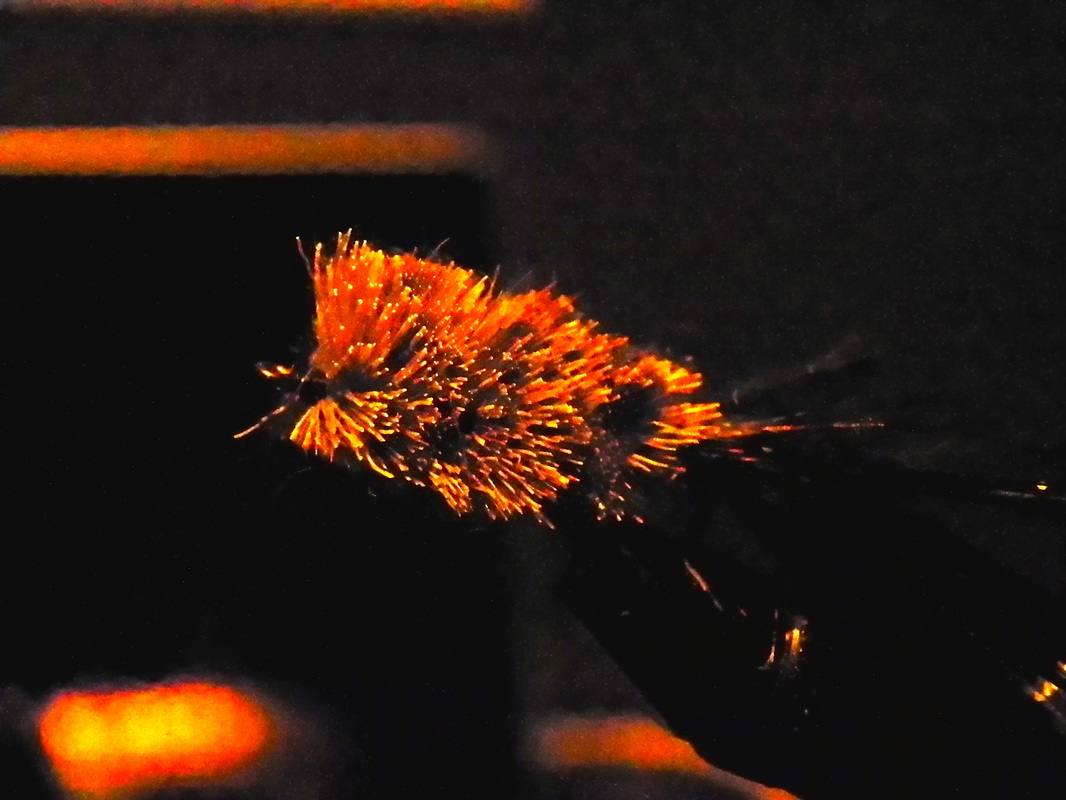 Once you are pleased with the shape of your popper you can then add any distinguishing marks with a sharpie. Can't see it all that well here but I added 3 black bars to each flank of the popper. Apply head cement and critique your work. Mine's still a work in progress. Log some youtube hours or go to warmwaterflytyer.com to get a sample of some top-notch hair work and great variations.
The popper above isn't fancy, not pretty, but has performed. Try these out when the big bass get hungry post-spawn. The bedding males have been guarding and prowling and will readily launch an air attack on any sputtering hopeless (as above) skittering along the surface. Comments and criticism are welcome, if you want more of this stuff be sure to sub the RSS feed or throw a quick like on Facebook. I promise it only goes up from here. |

AuthorRobbie is the creator of WF and loves to spend time in the outdoors chasing steelhead, upland birds, and the beauty of nature. Categories
All
Archives
April 2017
|


 RSS Feed
